Meet Andrea, a mid-sized operations manager who previously relied on handwritten notes and to-do lists to manage her busy schedule. While her approach worked for a while, it became chaotic as her tasks evolved, and her pen-and-paper system couldn't keep up. Andrea had days where her lists often became outdated...
Read More
Our blogs
Discover our latest insights, tips, and updates on a range of topics to keep you informed and inspired. Dive into our blog to explore in-depth articles curated just for you.
Case Study: How a Marketing Agency Streamlined Their Operation
A small marketing agency with about 20 employees that has been serving its clients for over a decade has various clients, suppliers, and freelancers and often juggles multiple projects simultaneously. Managing all the digital files, versions, and collaborative efforts has always been a headache. They needed a solution to streamline...
Read More
Organise your business with Task and Project Management
⏰🏆Master your time with Collabow! Organise your business, track work progress, and achieve your goals efficiently. Say goodbye to chaos and hello to streamlined productivity. #TimeManagement #BusinessGoals #Productivity #Collabow Elevate Your Team's Productivity with Collabow As a team leader, supervisor or business owner, you will know that managing tasks and projects efficiently is crucial for success. That's where Collabow comes in - a...
Read More

How can AI and Project Management help my business?
At Collabow, we understand that numerous small and medium-sized businesses face uphill battles adjusting to the rapidly changing digital landscape. Ongoing challenges include teams lacking the technical skills to use digital tools and platforms effectively, resistance to digital transformation resulting from slow employee adaptation, and the cultural challenges of transitioning...
Read More

What is digital transformation, and why is it important for my company?
Undertaking a digital transformation is crucial for your company to remain competitive, agile, and future-proof in today’s rapidly evolving business environment. Here are some key reasons why: 1. Improved Efficiency and Productivity * Automation: Digital transformation allows for the automation of routine tasks, reducing manual errors, improving quality and freeing employees...
Read More
How can using a digital file sharing tool help my business
This blog was created to help answer the question of 'Why should my businesses use a file-sharing tool and how can it improve my operation?' Using a file-sharing tool for your business offers several advantages that can improve efficiency, security, and collaboration. Here are some key reasons why your business...
Read More
Most read
Explore the blogs that are trending and most loved by our readers. Don’t miss out on these top stories!
Cloud Storage Collaboration Digital Transformation Digital Workspace File Sharing Productivity Project Management Task manager
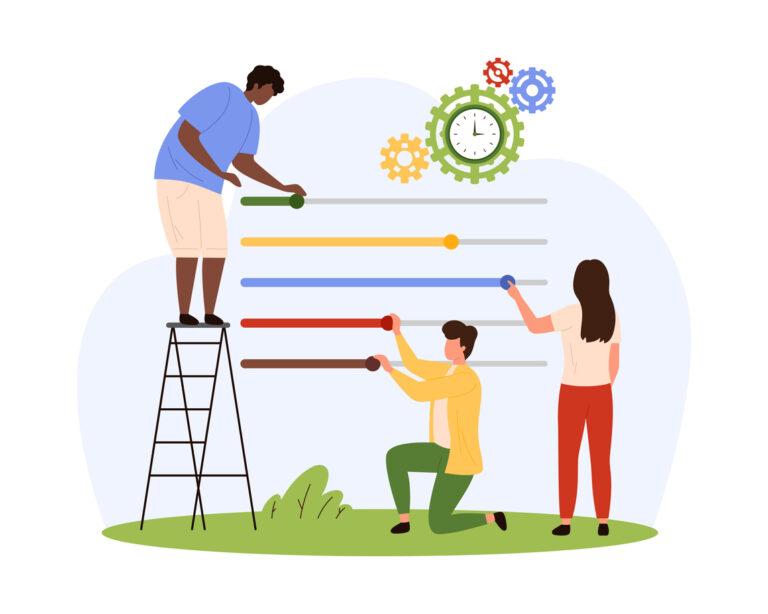
Case Study: Use Task Management to accomplish your goals
Meet Andrea, a mid-sized operations manager who previously relied on handwritten notes and to-do lists to manage her busy schedule. While her approach worked for a while, it became chaotic as her tasks evolved, and her pen-and-paper system couldn't keep up. Andrea had days where her lists often became outdated...
Read More
Organise your business with Task and Project Management
⏰🏆Master your time with Collabow! Organise your business, track work progress, and achieve your goals efficiently. Say goodbye to chaos and hello to streamlined productivity. #TimeManagement #BusinessGoals #Productivity #Collabow Elevate Your Team's Productivity with Collabow As a team leader, supervisor or business owner, you will know that managing tasks and projects efficiently is crucial for success. That's where Collabow comes in - a...
Read More

How can a Digital Workspace help my company achieve its goals?
Collabow is a digital workplace that uses the latest tools and technologies to enable new and effective ways of working, improving overall employee productivity, engagement, and collaboration with external partners or customers and increasing an organisation's agility.Utilising a digital workspace can allow managers and leaders to digitise the operation, allowing...
Read More
